General settings
Who can use this feature?
- Most of these settings are available on all plans.
- Manage keys needs the Pro plan.
- You need the Appearance permission to open Settings → General.
Most settings below live on Settings → General. Disclaimer consent and Follow-up email live on Chatbox → Shared chatbox settings.
Setting Store name and avatar
- Go to Settings → General
- In Store information, change the Name, and click Upload avatar to change the avatar
- Click Save
You can upload your own image as avatar. Make sure your image is in the right format (PNG, JPG, JPEG, GIF, SVG or WEBP) and smaller than 200 KB.
Language
Language sets the language of the Chatty admin — the menus and settings you and your team work in. It does not change what customers see in the chatbox. Customer-facing language is handled in Translation.
Markets
If your Shopify store sells in two or more markets, a Markets card appears with Advanced widget settings for markets.
Click Manage and you get a text box with one section per market, named after the market handle. In each section you can override the store name and the AI agent name for that market only. Markets you leave out keep the settings above.
The card is hidden until your store has at least two markets in Shopify.
Font
Font picks the typeface used on your chatbox, your FAQs block and your FAQs page. One choice covers all three.
Date format
Date format changes how dates are shown across the whole app — conversations, contacts, analytics. There are five options, and each one shows today's date as a live example so you can see what you are picking.
Manage keys
Manage keys is where you create the App ID and Secret key that let another system talk to Chatty. It needs the Pro plan. See Authentication for what to do with the keys.
Chat availability
The Chat availability card takes you to your working hours, break times, holidays, status messages and first auto-reply. See Online hours.
Reports
The Reports card takes you to your weekly performance email and unresolved questions reminder. See Reports.
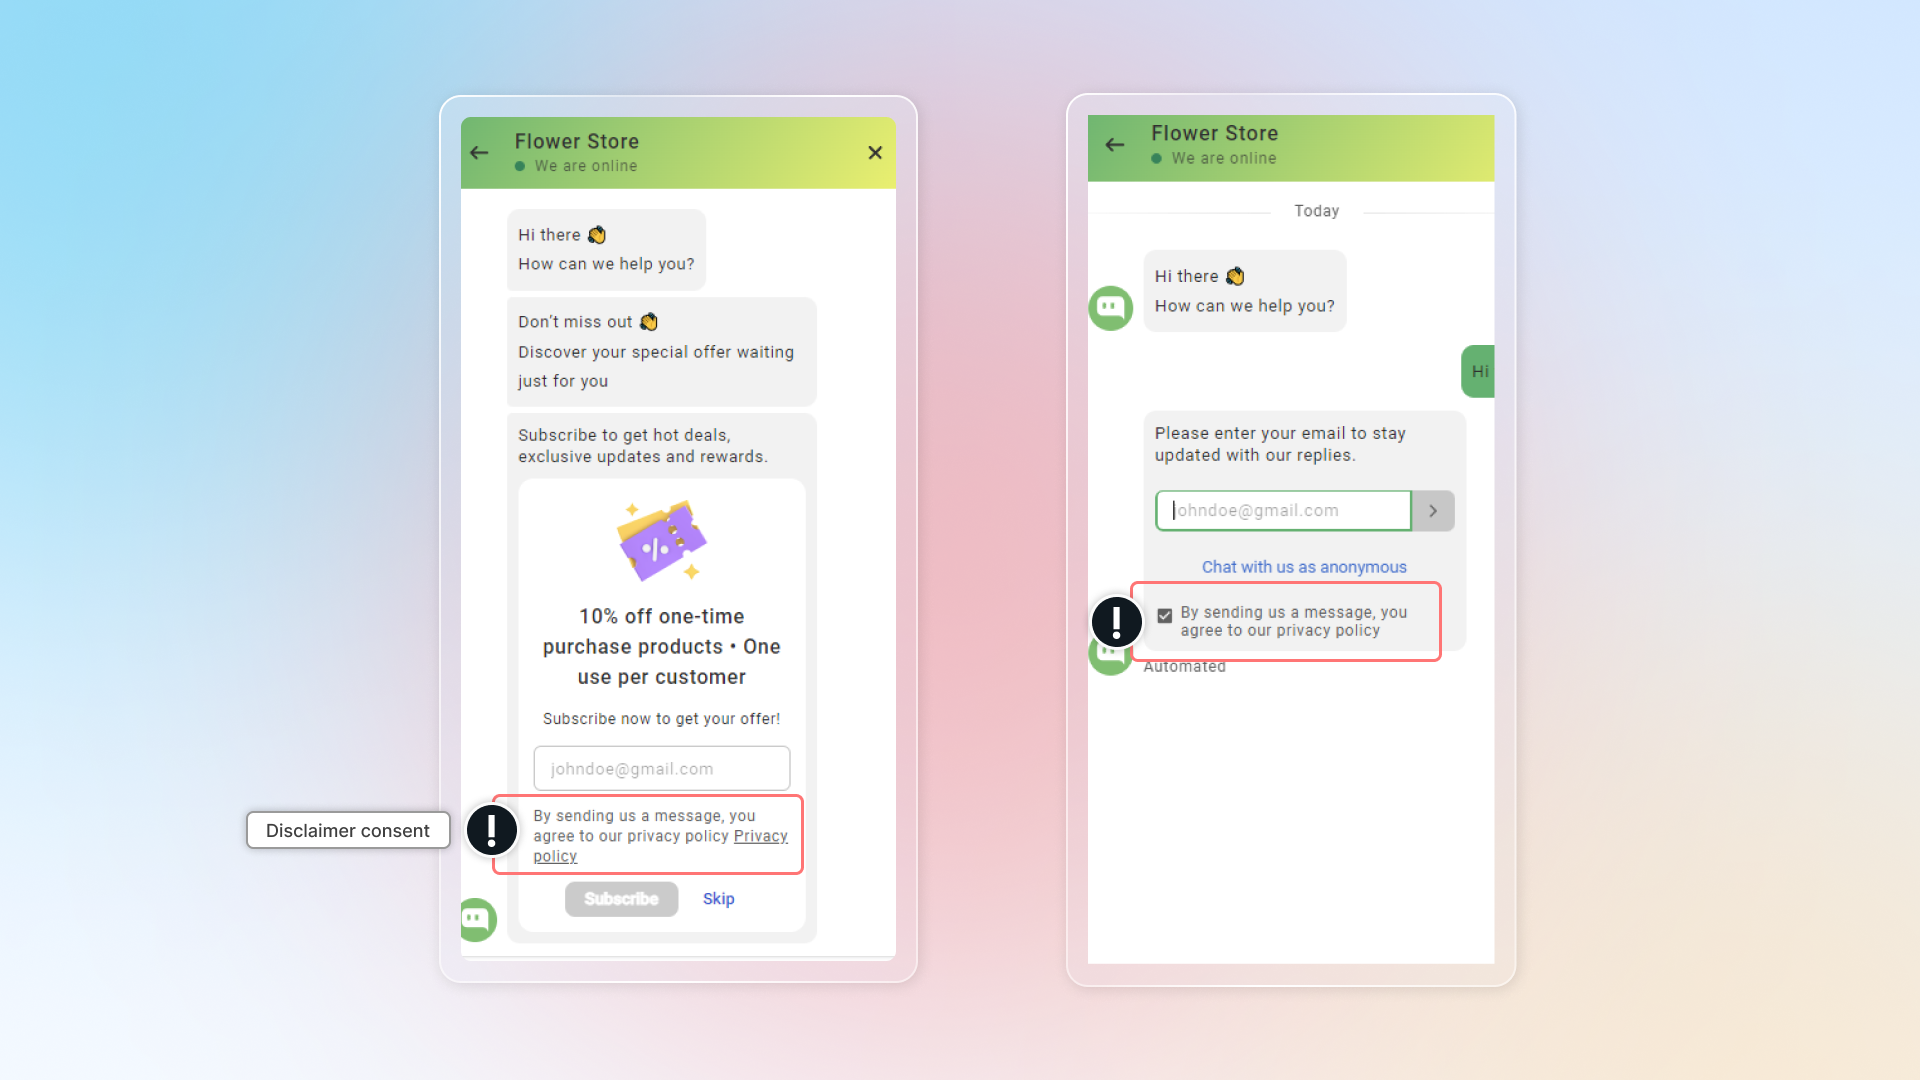
Disclaimer consent
Disclaimer consent lets you show your privacy policy under the contact form in the conversation.
This tells your customers how their data is used before they start a conversation or subscribe.
- Go to Chatbox
- In Shared chatbox settings, open Pre-chat form
- Check Disclaimer consent, then write your message and add your privacy policy link
- Click Save
Follow-up email
This helps customers keep their conversation going by email instead of live chat. In the app the setting is called Continue as email.
- Go to Chatbox
- In Shared chatbox settings, turn on Continue as email
- Click Save
In the chatbox, customers can then select Continue on email to keep the conversation going by their email.
 Chatty Help Center